More pages: 1 2 3 4 5
6 7 8 9 10 ...
12
Framework 4 (Last updated: October 25, 2019)Framework 3 (Last updated: February 6, 2017)Framework 2 (Last updated: October 8, 2006)Framework (Last updated: October 8, 2006)Libraries (Last updated: September 16, 2004)Really old framework (Last updated: September 16, 2004)
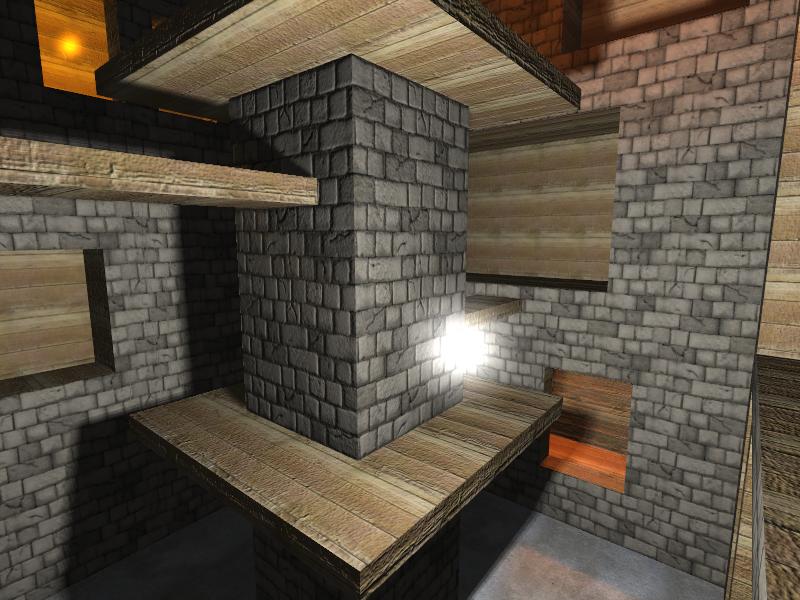
Alpha to coverage
Thursday, June 23, 2005 | Permalink


 Executable
Source code
AlphaToCoverage.zip (921 KB)
Required:GL_ARB_shader_objects
GL_ARB_vertex_shader
GL_ARB_fragment_shader
GL_ARB_shading_language_100
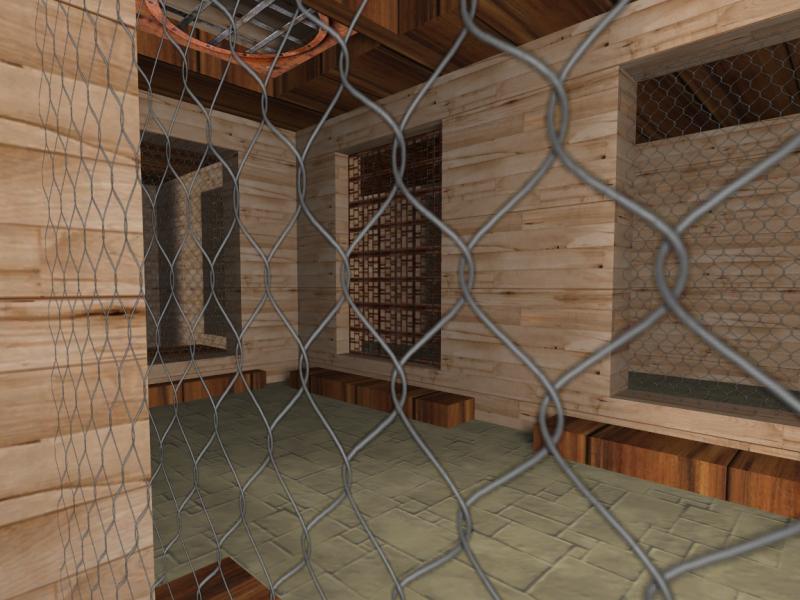
GL_ARB_multisampleOne of the weaknesses of multisampling compared to supersampling is that it doesn't work too well with alpha testing, a technique that unfortunately many games still use as a replacement for real geometry. The effect is that the edges created by alpha testing aren't antialiased. The proper solution is of course to alphablend, but that means the transparent or masked objects need to be sorted in a back to front order, which can be costly and inconvenient. But there's another solution that doesn't need depth sorting and properly antialiases alpha masked surfaces, namely alpha-to-coverage. This works by sampling the alpha and interpret it as how much it covers the pixel, and then the result is dithered and distributed to an approriate number of multisample samples. So if you're using 6x multisampling and the incoming fragment's alpha is 0.5 it will be deemed to cover three samples, which will then receive the fragment data. When the multisample buffer is resolved this means it will be blended with the background which will be written to the remaining samples. It is a bit of a hack but actually works very well in practice. In fact, it often works better than supersampling, since it's using the alpha value directly rather than checking against a number of thresholded alpha values, and thus doesn't have the flicker and discontinuity problem that often occurs even with supersampling when the texture is minified a couple of mipmap levels. When magnifying the texture it results in blurrier edges though, which is also the case with alpha blending. To solve that problem this demo also implement a technique that boosts the alpha contrast around 0.5 when the texture is magnified so that the [0, 1] range of alpha values spans over the width of a pixel. To figure out how much the texture is magnified another texture is looked up with a texture coordinate that's multiplied with the size of the base texture. Each mipmap level contains the size of that mipmap level. So if the texel of the base texture is 20 pixels wide in screenspace, contrast is boosted 20x. This makes the edges equally sharp as with alpha testing, but the look properly antialiased.
To compare the results to alpha testing you can toggle between the two methods on the F1 menu.
HSRBench
Sunday, June 19, 2005 | Permalink
Executable
Source code
HSRBench.zip (201 KB)
Recommended:GL_ARB_fragment_programThis is a small benchmarking utility to show the benefits of HyperZ and similar techniques. It's basically a replacement for the HSR test in my old "GL_EXT_reme" benchmark, and the simple test is pretty much the same. I got a report though that GL_EXT_reme didn't work on some newer nVidia drivers, and I can't debug it without one of their cards, so I thought it might be a good time to write a new one. The HSR test was basically the only test that I still find interesting though, and the simple texturing isn't the most interesting thing these days, so I added a complex shader mode too that runs a fairly long shader. This is where the benefits of early Z culling techniques really shows through, so I thought it would be interesting to show that too.
I also added a number of configuration options, so you can select what draw mode to run and the amount of overdraw. Results are appended to the result.log file in the app's directory.
And of course, the disclaimer: I am an employee of ATI and I'm not trying to hide that fact. Keep that in mind and take this benchmark for what it's worth. I believe it to be a good and valid synthetic benchmark though, and haven't even tested it on any other cards than my own, so I don't even know which IHV will come out ahead in it. It's actually more interesting for comparing a card against itself through the different test to see efficiency of early Z culling hardware, rather than comparing IHVs against each other. Like most of my other work, it's open source, so you can judge it that way too.
This is also the first application I release that's based on a new framework I've been working on for a while. So you can see there's a new "Framework 3" link.
AntiAlias
Saturday, June 4, 2005 | Permalink
Executable
Source code
AntiAlias.zip (361 KB)
Required:GL_ARB_shader_objects
GL_ARB_vertex_shader
GL_ARB_fragment_shader
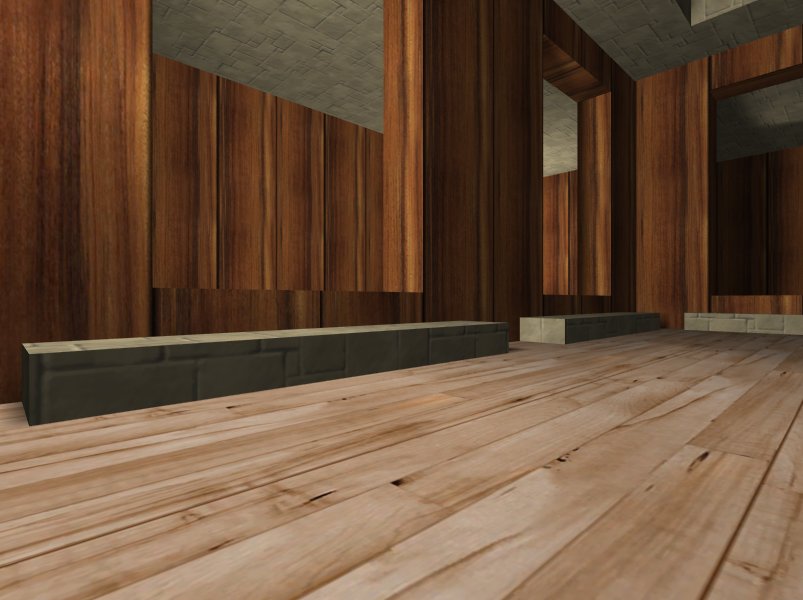
GL_ARB_shading_language_100This demo implements supersampling antialiasing by rendering the scene multiple times with just a tiny tweak to the projection matrix between the renders and accumulating the results in the accumulation buffer. It allows you to change between 1x (no AA), 2x, 4x and 11x (default). If you enable antialiasing in the control panel you can get really large AA modes, for instance 6x multisampling + 11x supersampling, which would give you essentially 66x AA.

Cel-shading
Monday, February 21, 2005 | Permalink
Executable
Source code
CelShading.zip (216 KB)
Required:GL_ARB_shader_objects
GL_ARB_vertex_shader
GL_ARB_fragment_shader
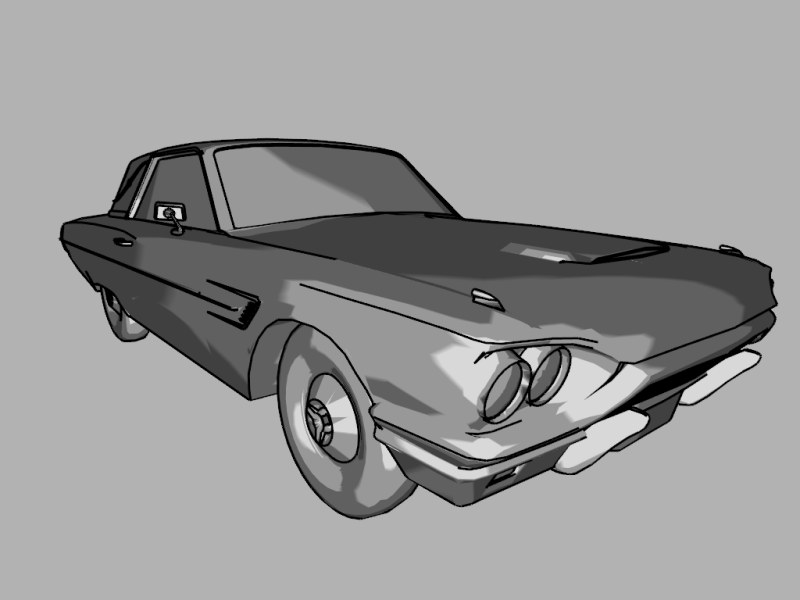
GL_ARB_shading_language_100This demo implements one of the most common cel-shading algorithm. Do simple lighting, then look up in a grayscale texture with a few colors. But in addition to that, it draws the outline of the object as well as internal edges (adjustable on the F1 menu). The outline is extracted entirely on the GPU. The idea is similar to shadow volume extrusion on the GPU. You extract all edges on the model and store the face normals from the both triangles the edge connects. When one is front-facing and the other backfacing, it's a silhuette edge. After figuring out whether we're on a silhuette edge or not we need to destroy edges that aren't. There's no direct way to destroy it, but we can throw it out to infinity though. This is easily done by setting w to 0.
In addition, internal edges are detected by simply dotting the normals and comparing it to a threshold value. The lower the value of the dot-product, the sharper the edge is.
Metaballs
Sunday, January 2, 2005 | Permalink
Executable
Source code
MetaBalls.zip (808 KB)
Required:GL_ARB_shader_objects
GL_ARB_vertex_shader
GL_ARB_fragment_shader
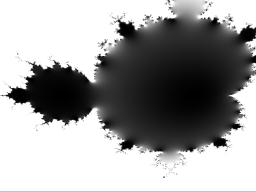
GL_ARB_shading_language_100This demo implements the marching cubes algorithm for constructing a polygonal model from an isosurface. The isosurface chosen here is a classical metaballs setup. Metaballs are defined by field function that's the sum of R
2 / ((ball.x - x)
2 + (ball.y - y)
2 + (ball.z - z)
2) for all balls. The surface is defined to be where the sum is one.
The marching cubes algorithm constructs the isosurface by intersecting the space with cubes (also referred to as cells). At each vertex point the field function is evaluated. An edge on a cube is known to intersect the surface if one has a value above one, or in my implementation, is positive (I subtract one so I can just use the sign bits, which speeds things up). At each edge that intersects the surface an approximate intersection point is computed by interpolating between the edge points. As there are 8 corners in a cube that are either above or below the surface there are 2
8 = 256 possible ways for the surface to intersect the cube. These are stored a lookup table for quick assembly. Many implementations on the web evaluate the vertices directly for each cube and doesn't evaluate the surface topology. This is simpler, but means a lot of computations are repeated. My implementation however evaluates the full topology with both an index array and vertex array, which is faster and requires less data to send to the graphic card, but it uses a bit more memory and requires a bit more advanced data structure. The topology may also be useful for other tasks such as computing smooth surface normals. I'm evaluating the normals directly from the field function however as this was both faster and gave higher quality normals.
The main bottleneck in this process is evaluating the field function. To speed things up a bit I implemented 3DNow and SSE versions of it as well. It should choose the most appropriate for your system as default. You can change what field function to use on the F1 menu.
As a final output of all this I apply a water-esque shader on the surface.
This demo should run on all GLSL capable hardware such as the Radeon 9500 and up and GeForce FX 5200 and up.
Depth of field II
Sunday, December 19, 2004 | Permalink
Executable
Source code
DepthOfField2.zip (363 KB)
Required:GL_ARB_shader_objects
GL_ARB_vertex_shader
GL_ARB_fragment_shader
GL_ARB_shading_language_100This demo renders a depth of field effect by rendering 8 different views on a spherical cap around a focus point and averaging the results. The focus point is computed by shooting a ray in the middle of the screen and intersecting it with the geometry. As you look around, the focus point changes smoothly as you're either looking at closeup details or in the distance.
The good thing about this way of implementing the effect is that the results are very good, at least if you render enough views. The bad thing is that it's very expensive. For this reason this demo uses a simple lightmapped scene and fairly small render target resolution. For depth of field situations you can get away with using low resolution render targets though as most of the scene is a bit blurry anyway.
This demo should run on Radeon 9500 and up and Geforce FX 5200 and up.
Light trail
Tuesday, October 26, 2004 | Permalink
Executable
Source code
LightTrail.zip (225 KB)
Required:GL_ARB_shader_objects
GL_ARB_vertex_shader
GL_ARB_fragment_shader
GL_ARB_shading_language_100
GL_EXT_blend_colorThis demo implements a simple light trail technique. The light sources are rendered into a texture. This texture is then blurred and scaled down slightly between each frame and new light rendered into it the next frame. This creates a corona around the light and a light trail as the light moves or the view position changes.
This demo should run on Radeon 9500+ and up and GFFX 5200 and up.
Soft shadows II
Sunday, September 19, 2004 | Permalink

Executable
Source code
SoftShadows2.zip (1.1 MB)
Required:Pixel shader 2.0
Vertex shader 1.1This demo implements a more dynamic version of soft shadows than the previous one. The light isn't restricted to a predefined path, nor does the geometry have to be static. The basic idea is to first generate a hard shadow using regular shadow mapping, then blurring it as needed. Special care is taken to ensure that shadows and light doesn't bleed over from the background or foreground by scaling down sample weight with difference in depth.
A good thing with soft shadows is that they can easily be combined with lightmaps for static lights, while combining dynamic hard shadows with lightmaps can look a bit odd where some shadows are soft and others are hard.
This demo should run on Radeon 9500 and up and GFFX 5200 and up.
2004-09-22: Should work on nVidia cards now.
More pages: 1 2 3 4 5
6 7 8 9 10 ...
12